G109 Tailwheel Assembly
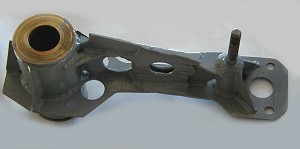 G109 tailwheel bracket (after emergency repairs). This bracket should be carefully inspected during each annual, particularly in the area in the center of the bracket as cracks are known to develop. If the tailwheel starts wobbling from side to side, feeling to the pilot much as if the tyre is flat, then a broken bracket is likely. |
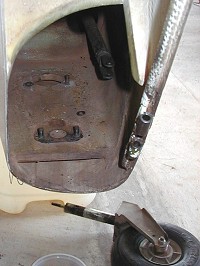 Tailwheel cavity. Heavy landing may dislodge plywood baseboard. Original 6mm bolts have tiny Allen key recess in threaded end to facilitate nut removal should head break loose from bond. |
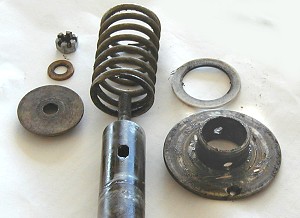 Main spring assembly. Bronze washer does not belong with this assy. Dowel pin @25mm x 5mm, and splitpin, not shown. Assemble in following order: Spring support plate (with hole closest to circumference facing right and tailwheel facing to rear), dowel pin, plastic washer, main spring, large stepped steel washer, 8mm steel washer, castellated nut (compress spring slightly and support tailwheel), then splitpin. Nut will need to be screwed down about 8 turns to reveal splitpin hole. |
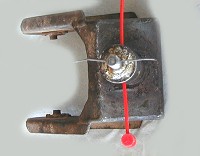 Tailwheel fork showing locations of dowel hole and splitpin hole. This unit has been bent due to heavy landing |
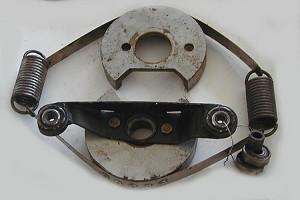 Fit section with larger hole first. Note that the @6mm stud on right must align with outer countersunk hole on spring support plate. This is most important – it’s far too easy to get it wrong and spend another couple of hours pulling it all apart again. |
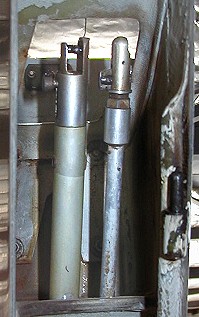 Elevator and trim control rods |


